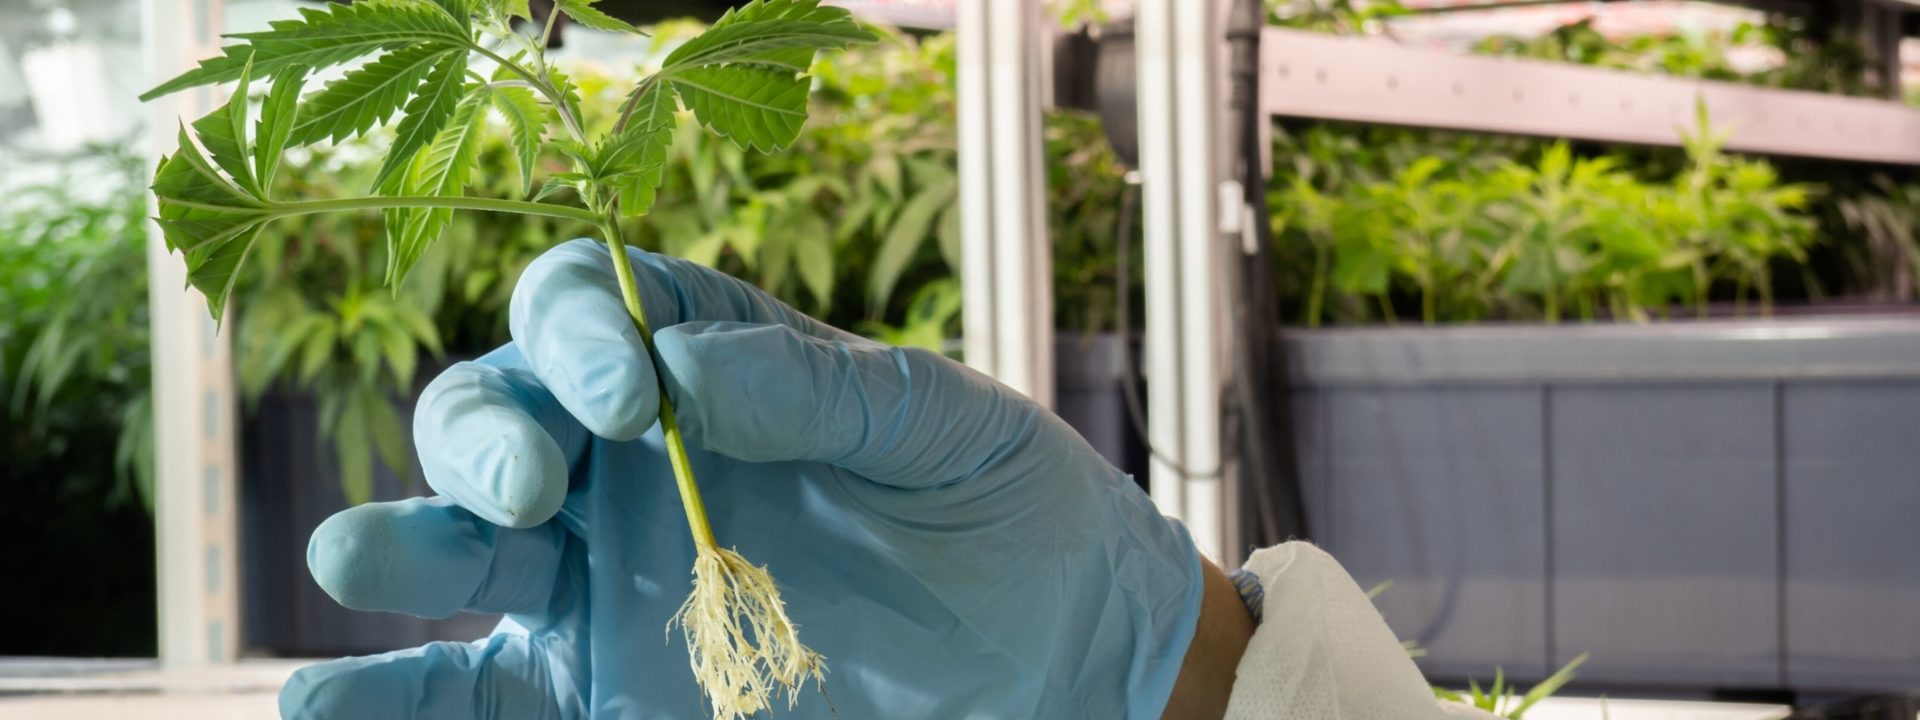
Most provinces and territories allow growing cannabis at home, which is all well and good…but how do you do that, exactly? Growing your own cannabis can be a little finicky, no doubt, but that isn’t reason enough to not give it a go. If you live in a place where growing your own cannabis is allowed, we’ve put together some basic steps to follow to help get the process started. This won’t guarantee seed germination (cannabis seeds can be pretty fickle), but it’ll give you a good shot.
What You’ll Need
Growing cannabis at home is a little more intensive than trying to keep your desk plant alive. There are some things you’ll need to help you be successful:
- Water (of course)
- Paper towels
- Dinner plates
- Plant pots (or other containers to grow in)
- Soil
- Spray bottle
- Lamp
- Seeds (you can buy these from most provincial retailers)
- A little determination
- A lot of patience
Sprouting
Unlike other plants, you can’t just throw a cannabis seed into a pot full of soil and expect results. You have to sprout the seed first before transferring it to soil. To start, dampen a paper towel with some distilled water. It doesn’t need to be soaking wet, just moist. Place the paper towel on a plate and put the cannabis seed on top. Then, take another damp paper towel and drape it over the seed. Take the second plate and put it over top of the paper towels, make a little cove of darkness for the cannabis seed.
The seed needs to be in a place between 21 and 26oC in order for it to start sprouting. Generally, places like closets, smaller rooms, spare bathrooms, garages, or even a grow tent are where people choose to let their seed sprout. Wherever you choose, make sure to monitor the temperature and keep the paper towel damp.
It usually takes 1 to 3 days for your cannabis seed to sprout. That’s where the patience comes into play. Once it’s sprouted, do NOT touch the seed. At all.
Planting
After your seed has sprouted, use some tweezers to gently move it to a 2-inch pot that has airy soil in it. Drop the seed in and cover it with soil. Use a spray bottle filled with water to keep the soil moist, but make sure you don’t overwater it.
Your seed needs 18 hours of light and 6 hours of darkness to properly grow, so make sure you have a lamp set up in the location you’re growing. You can manually adjust the lamp when you need to, or you can use one that has a timer to stick to a proper lighting schedule. That’s up to you!
Transferring
Once your seed has sprouted leaves, it’s considered a seedling. You’ll need to monitor it to make sure it’s growing still, and once it’s started to get a little bigger, you’ll need to re-pot it. There needs to be enough space for the seedling’s roots to grow. Re-potting can be tricky, so make sure you’re very delicate with the seedling. Loosen the soil in your current pot and carefully transfer the seedling to a pot that’s more suitable for your plant’s size with more soil.
During this stage, your seedling still needs to 18 hours of light and 6 hours of darkness.
Vegetation
As your seedling grows, it will stop being a seedling and become an actual plant. It’ll grow some stronger roots and branches, which is how you’ll know it’s time to increase the light intensity. It still needs the 18/6 light schedule, but the light you’re shining on it should gradually become more intense. Your plant will also need more water and nutrients as it grows. Keep an eye on it to make sure the soil stays damp, and that you’re seeing regular growth. It’s also important to keep the plant trimmed of excess foliage to allow for consistent airflow and energy absorption.
You can keep your plant in the vegetative state until it’s at the height and strength you’re looking for.
Flowering
The flowering stage means you’re almost there. It’s almost time to reap the rewards of your hard work, but there’s still some work to be done. To send your plant into the flowering stage, make sure all of the light pollution that could be reaching your plant is gone. You need to provide 12 hours of light and 12 hours of darkness (like, REAL darkness).
Once your plant is in the flowering stage, make sure you don’t move it at all. This could shock the plant and derail all of your hard work. As your plant matures, the trichomes will start to develop and you’ll notice a stronger scent. The length flowering stage depends on your plant, but generally it lasts anywhere from 8 to 12 weeks.
Harvesting
You did it! You’ll know it’s time to harvest your cannabis plant by the dense flower, dark orange or red pistils, and developed trichomes. Once you’ve harvested the plant, you can use whatever method you prefer to dry them out. Everyone has their own way of doing it, so there are plenty of options.
Growing your own cannabis takes a while, and it can be frustrating at times, but once you get the hang if you it you might find that your thumb has been green all along.
*NOTE: Do not grown cannabis at home if it is against the law in your area or residence. Refer to your provincial and municipal regulations for growing cannabis in your residence. Always make sure cannabis plants are grown out of reach of children or pets.
