Indiva’s Guide to Rolling the Perfect Joint
It seems like every day there’s a new cannabis format or product introduced. Obviously this isn’t a bad thing—different people prefer different things—but there’s something to be said about smoking a hand-rolled joint! It’s arguably the most popular way to consume cannabis, possibly because the effects can be felt in seconds.
Synonymous with cannabis culture, the joint represents more than just rolled paper with weed in it—it’s an icon of the cannabis movement itself. So if smoking cannabis is your preferred way of consumption, knowing how to roll the perfect joint should be of interest to you.
Below you’ll find a step-by-step guide on how to roll a joint for beginners. Don’t forget, practice makes perfect! If you don’t get it on the first shot, it just means you need to try again (and again).
What you’ll need:
- ½ gram of your favourite cannabis strain (at least)
- Standard sized rolling papers
- Crutch, also known as a joint filter
- Cannabis grinder
- A pen-shaped object to help pack the joint
Directions:
1. Nothing like freshly ground
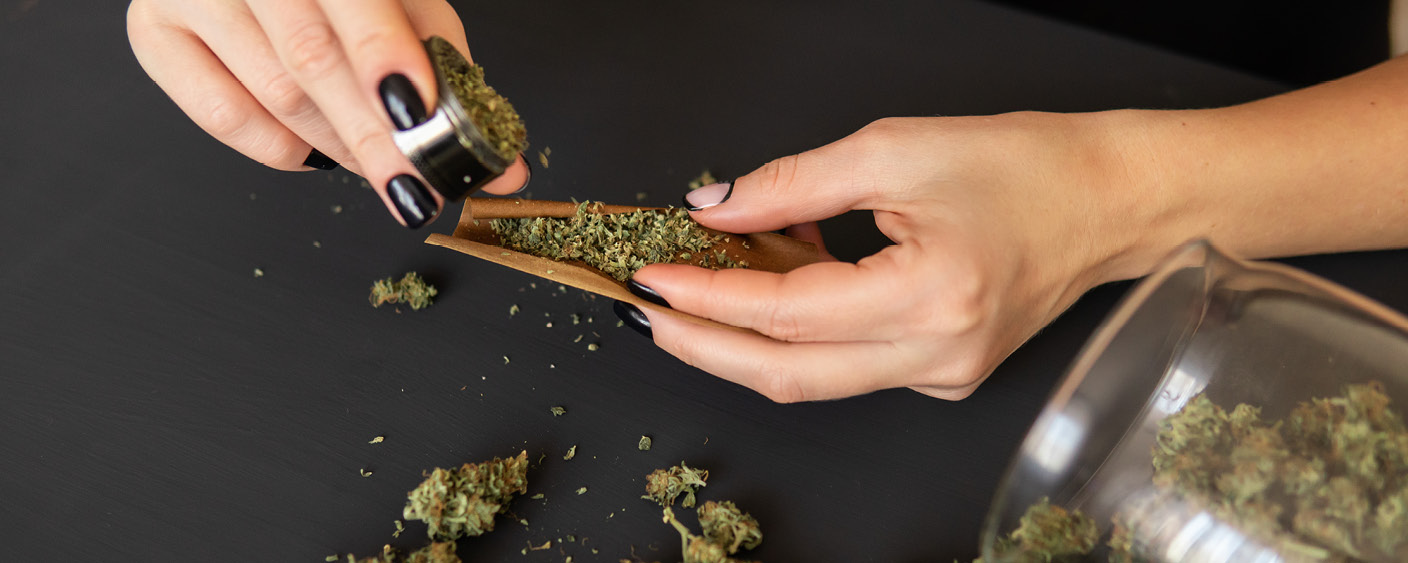
Place your cannabis in a grinder and twist until it is sufficiently ground into “shake”. It’s best to use a grinder to prevent your hands from getting sticky. Kind of hard to roll a joint when your hands get stuck to the paper!
2. Grab your crutch
There are many ready-made filters on the market but you can create your own as well. Using a piece of thin cardboard, start the filter with an accordion fold then roll it into the appropriate thickness depending on your papers. The crutch helps the shake from falling into your mouth while you smoke, so although it’s not absolutely necessary, it’s definitely something you’ll want to include.
3. Have your fill
Pick up the rolling paper and hold it on one end, creating a curve in the centre of the paper. Place the crutch on one end and fill the paper with a line of cannabis from the crutch to the other end of the paper. It should be a straight line of cannabis.
4. Pack and forth
Pinch the paper between your fingertips and roll it back and forth to pack the cannabis down, creating the joint’s final cone shape. This is usually the hardest part, so patience is key!
5. Sealed with a kiss
A joint that falls apart is not ideal, so be sure to take extra care in this step! Take the unglued side of the paper and tuck it into the roll. Use the glued edge to tack down the end of the joint that has the crutch. This will help shape the rest of the joint. Use a bit of moisture to tack down the paper, which can be achieved with a lick! Once that end is sealed, work your way down the joint to seal the rest.
6. Do the twist
Pack the end of the joint to a nice round shape so it burns evenly. This is where you can use the pen or a different tool to make sure the joint is as packed as possible! Then, close the joint with a twist to keep everything inside.
7. Enjoy!
Do we really need to explain this one?
